 So I realize it’s been quite some time since I’ve posted. Okay, a very long time. I guess that’s what happens when you start a new job and get a puppy all in the same time frame though!
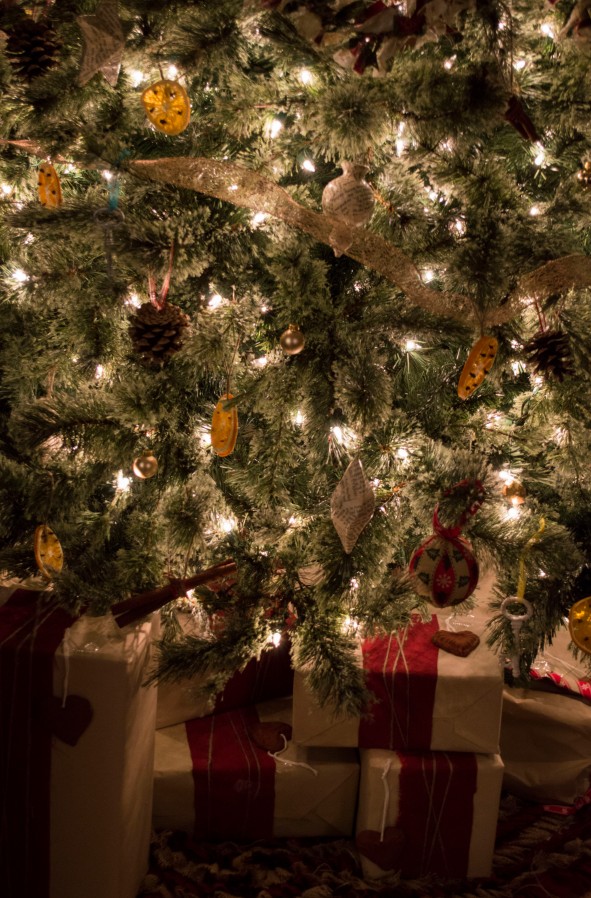
But here we are at that wonderful time of year again and I decided to take on our first Christmas tree; making majority of the ornaments by hand. What better place to find ideas than Pinterest right? I’m very happy with the outcome and I hope you will all like it too!

I started by pinning some images of trees that I wanted to take my inspiration from. I like the rustic, natural feel so then I went in search of ornaments that lent to that.
My first item was the garland. I loved the look of the scrap fabric garland posted by Buenovida. It was very easy and my husband helped me cut fabric and tie knots while we watched a movie. I didn’t end up with a long enough strand though and would have doubled or tripled the amount I made. So if you take on this garland, buy 2 or 3 times the amount of fabric you THINK you need. The knots bunch up pretty tight in the end.
The second items I made were the orange slices. For these you’ll need a dehydrator. You can buy a decent one at Wal-mart for about $50 if you don’t have one already, and you can make all sorts of things with one. I’ve used ours for banana chips and strawberry chips, I’ve had fruit leather from a dehydrator and of course beef jerky, so trust me, you will make use of it if you’re a do-it-yourselfer like me. Anyways, back on track. I just sliced the oranges, pushed in cloves and put them in for 3 days until I felt they were dry enough. I had to add dabs of hot glue to the backs later to hold in the cloves since the oranges shrunk in some places and they were falling out, but otherwise they were a success.

Probably my favourite ornaments are the paper mache stars (I made more than just stars but I like the stars the most). I picked up the forms at Michaels and bought all different shapes, some were wooden, some cardboard. Then took them home and mod podged pieces of a ripped up old book that I knew wouldn’t be read so re-purposed it. They were very easy and I LOVE the look.
I made a few different types of balls, all using Styrofoam balls but you could use old ornaments you weren’t wanting anymore too. I picked up some ribbons I liked that looked nice together for the one type. I cut them in strips and started pushing them into the Styrofoam at the top and bottom, overlapping the layers. These were pretty time consuming. I didn’t use any glue, however I’m sure you could glue the strips down for extra security.
The next type were the twine balls. These ones were just as time consuming but a little easier. I used hot glue and just went around and around the ball until it was completely covered.
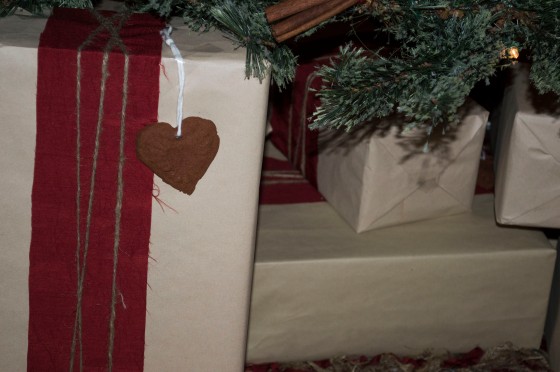
I then added some pine cones and cinnamon sticks wrapped into bundles for more natural accents. To add a bit of colour I bought some gold ribbon and tiny gold ornaments and metal keys from Michaels as well (the only non hand made ornaments on the tree).
The final addition to the tree was, of course, the tree skirt. Anyone who’s looked at Christmas items will have seen the ruffle skirt (tutorial found on A Painted Nest) and I loved it from day 1. Many have pinned a no-sew concept, however I was concerned about the durability of a hot glued skirt, so I went ahead and sewed mine. It did take a few hours, but I am very happy with the end product. I simply cut the strips and sewed it around and around, bunching up the ruffles as I went. I would recommend to anyone who likes the look to try sewing it instead of glueing.
That’s everything! Yes, it takes a lot of work to personalize a tree, but in the end it makes it that much more special to look at, knowing that it’s yours and not the same ornaments other people picked up from the department store.
I LOVE my tree and if anyone else out there takes inspiration from it I’d be happy to hear it 🙂


 So I realize it’s been quite some time since I’ve posted. Okay, a very long time. I guess that’s what happens when you

